Leg Cart Operational!

Hello again!

First things first – we now have a Sponsors page! We just finalized our first sponsorship agreement with HydroAir (a New England fluid power reseller and engineering company) and HydraForce (a leading manufacturer of cartridge valves and hydraulic controls systems); between the two companies, they will be providing us 21 proportional valves for the robot.

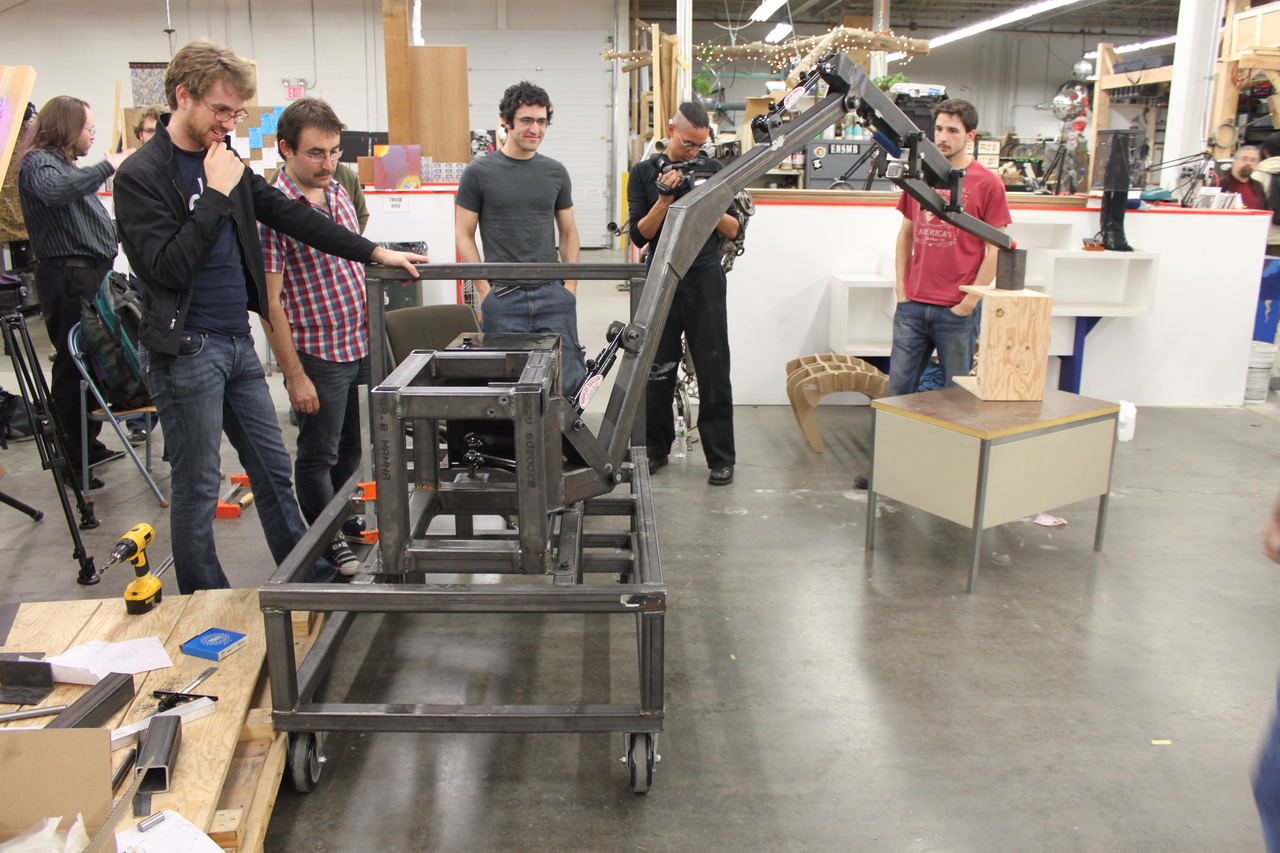
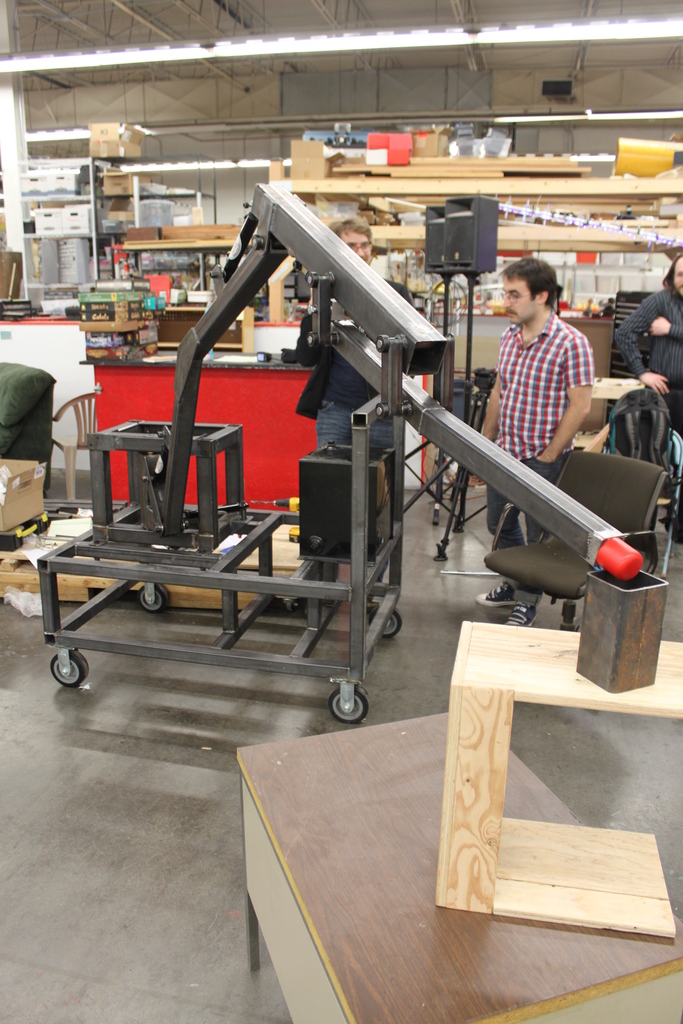
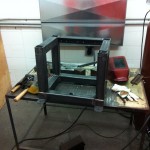
We’re ecstatic to announce that after working full-bore this past week, and after a couple of minor irritating hiccups, we managed to finish the Leg Cart mechanical and hydraulic assembly and turn it on for its first couple of tests. We made a compilation video of all the tests we ran on the 15th – check it out:

The sparks were flying on Tuesday because that giant motor you see bolted to the cart draws 330 amps continuously to spin that pump. We thought we could get away with smaller batteries (and cords) than necessary since we were only going to be running the robot for a short period of time, but we ran it a bit too long. Oops. We’re switching over to a bank of batteries and much heavier duty cord before we run the robot again.

You’ll notice some jerkiness in the initial motions of the leg – we believe this is equally due to (a) air in the lines and (b) jury-rigged control of the proportional valves.

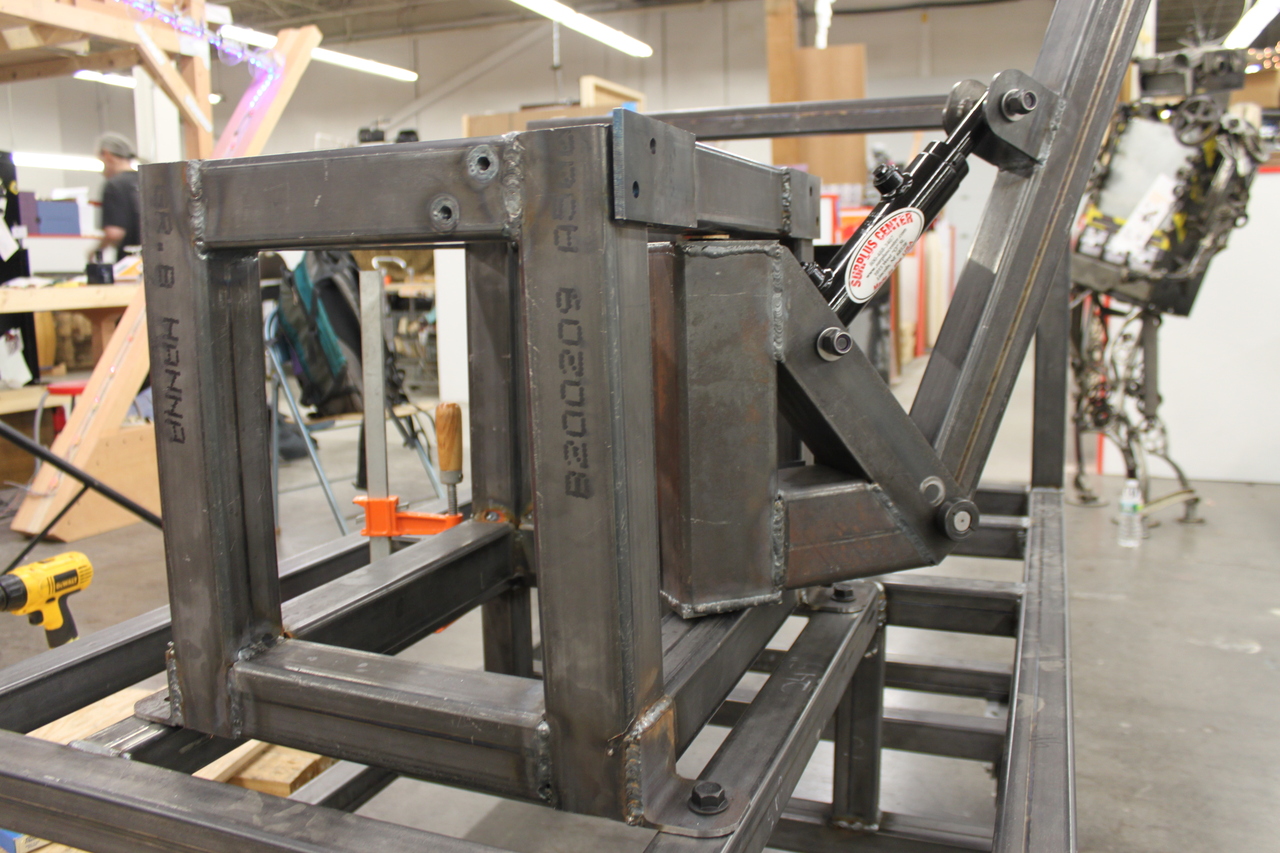
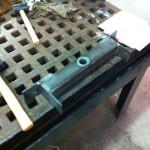
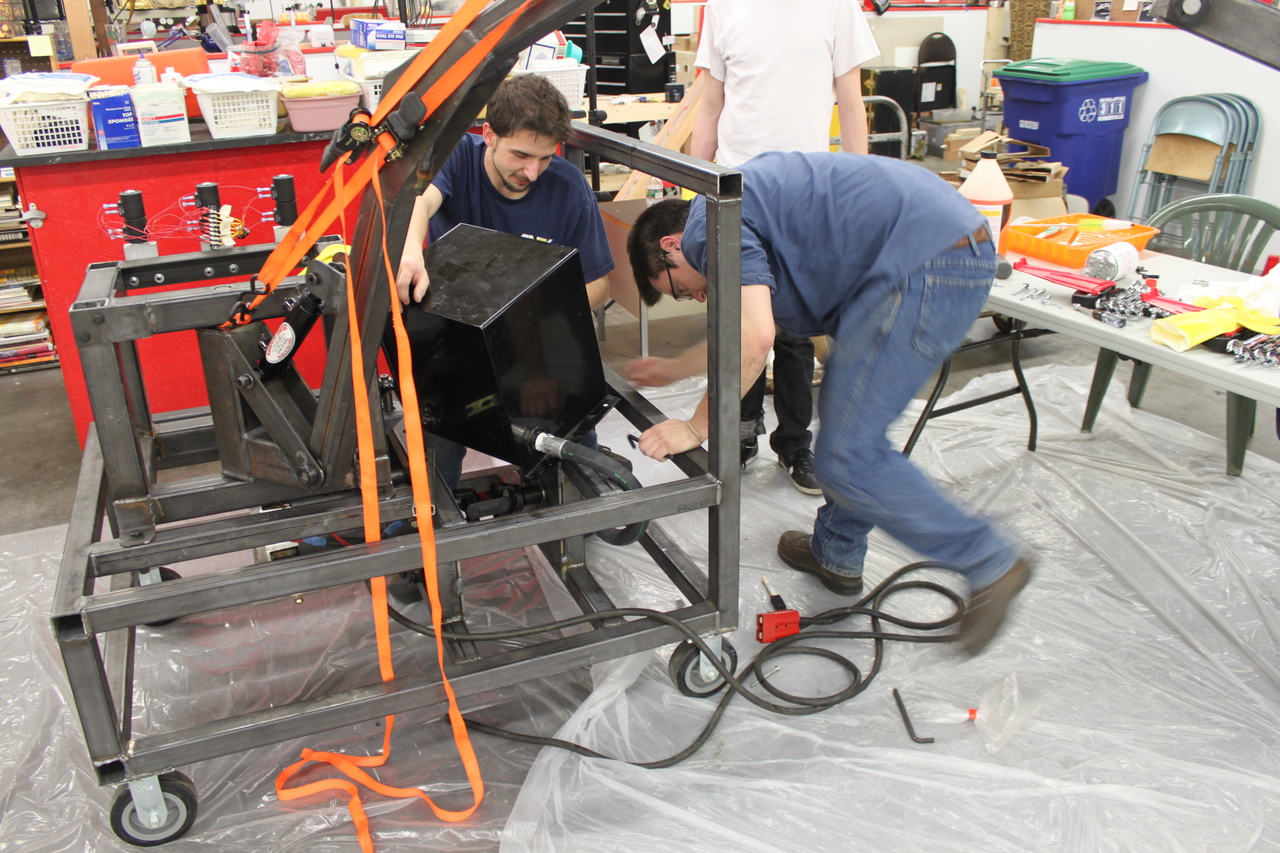
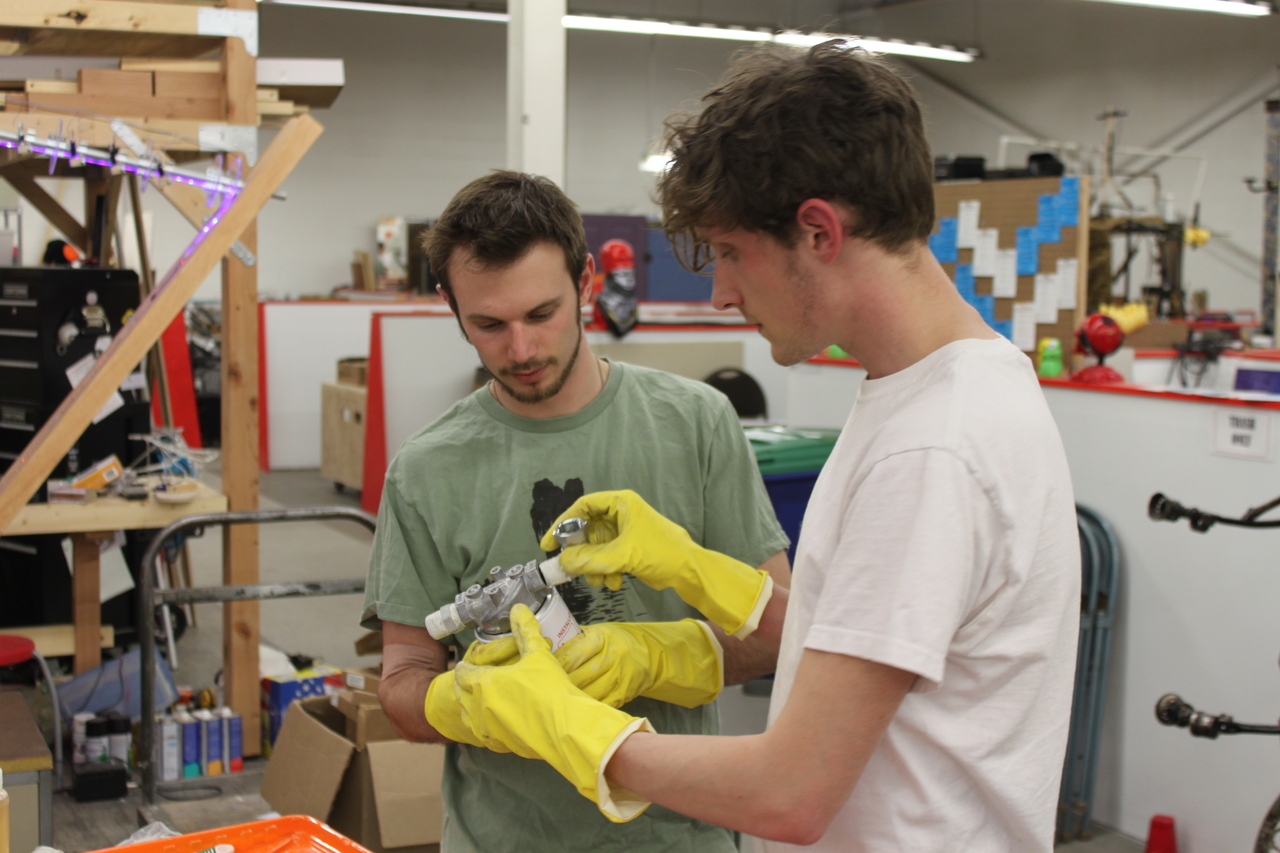
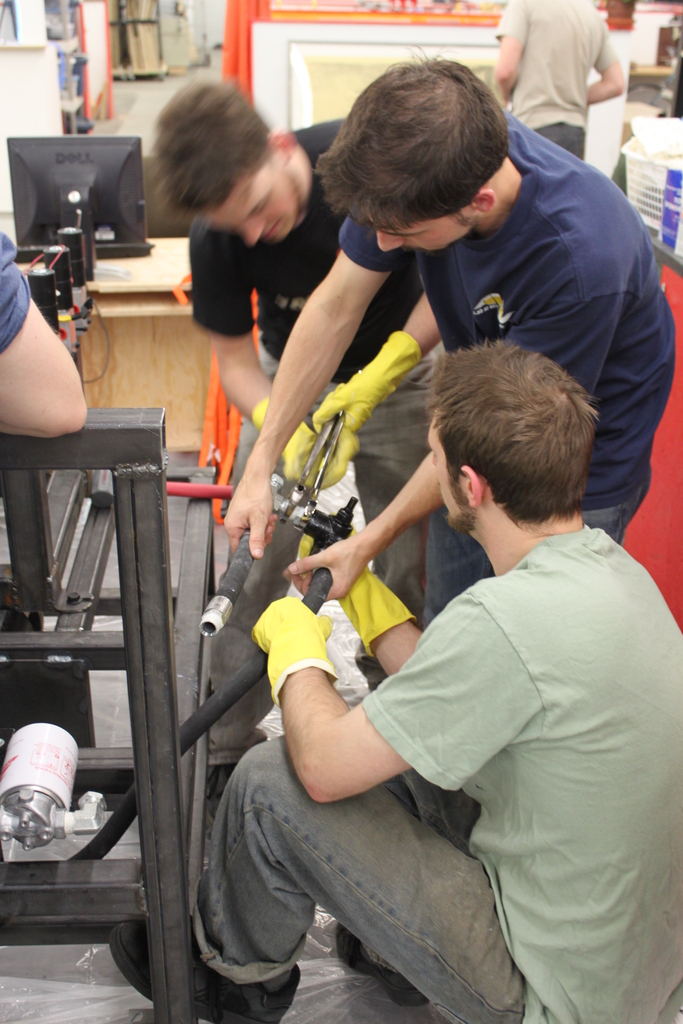
We assembled all of the hydraulic components in place, and filled them with hydraulic oil as best we could. Unfortunately, since the reservoir level is below our valves and some of our pistons, air is easily trapped in place. The compression and expansion of this air contributes significantly to making the leg so springy. Tomorrow night, we’ll be “bleeding” the robot (a rather scary name for removing air from hydraulic lines) – we’ll be detaching all of the components, bringing them under the fluid level of the reservoir, and even assembling some of the components in a bath of hydraulic oil to make sure no air gets in. The big lesson learned for the real robot assembly is to place the reservoir higher up, the valves and pistons lower down, and make absolutely sure to fill the system in a way that removes as much air as possible beforehand.

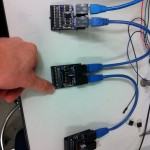
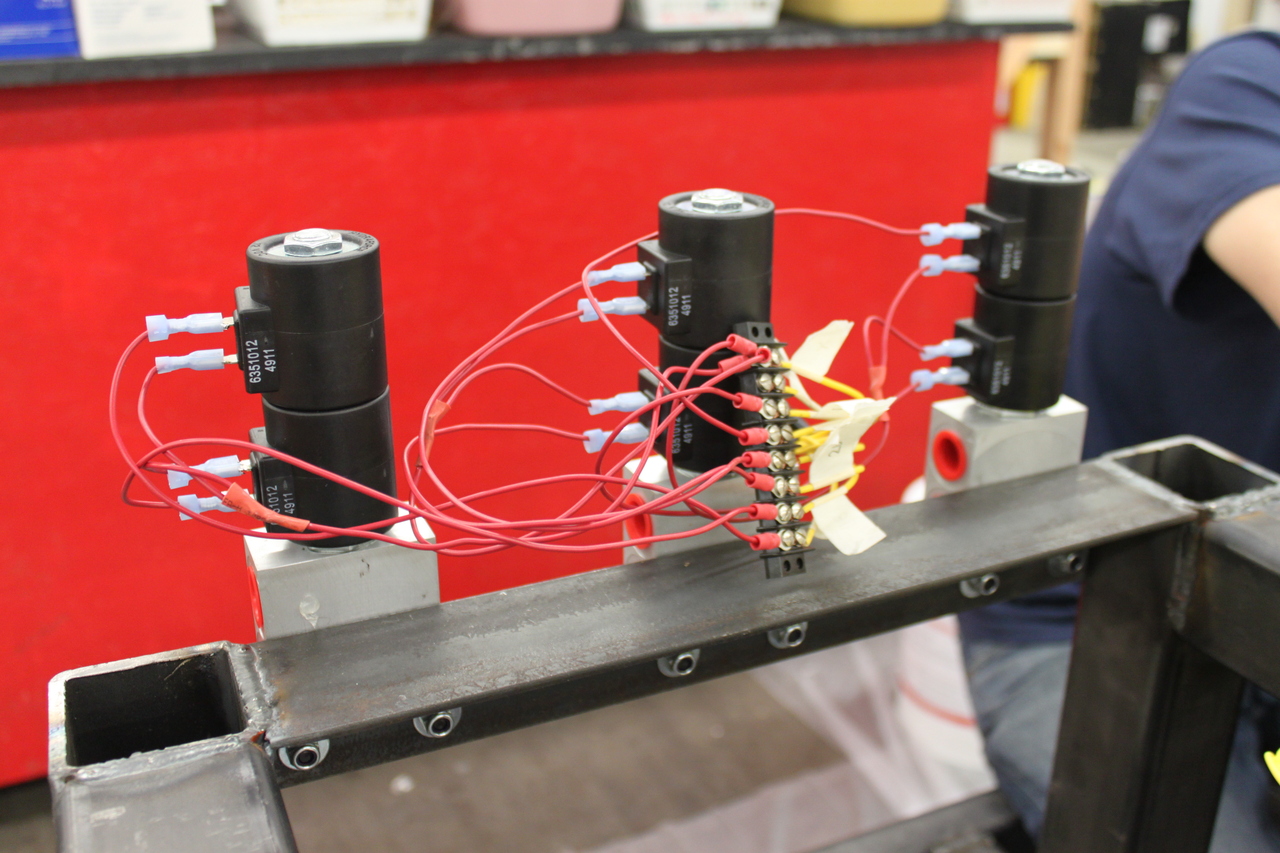
Our control of the proportional valves for the test amounted to a box of switches attached to each of the valves, powered off of a current-controlled power supply. The more current you push into the valves, the more hydraulic flow the valves allow – you can check out the HydraForce valves we’re using here. We had no idea what current settings would work for the robot, which is why you see the robot start moving really quickly at the start of the film and then move in a much more controlled fashion later on.

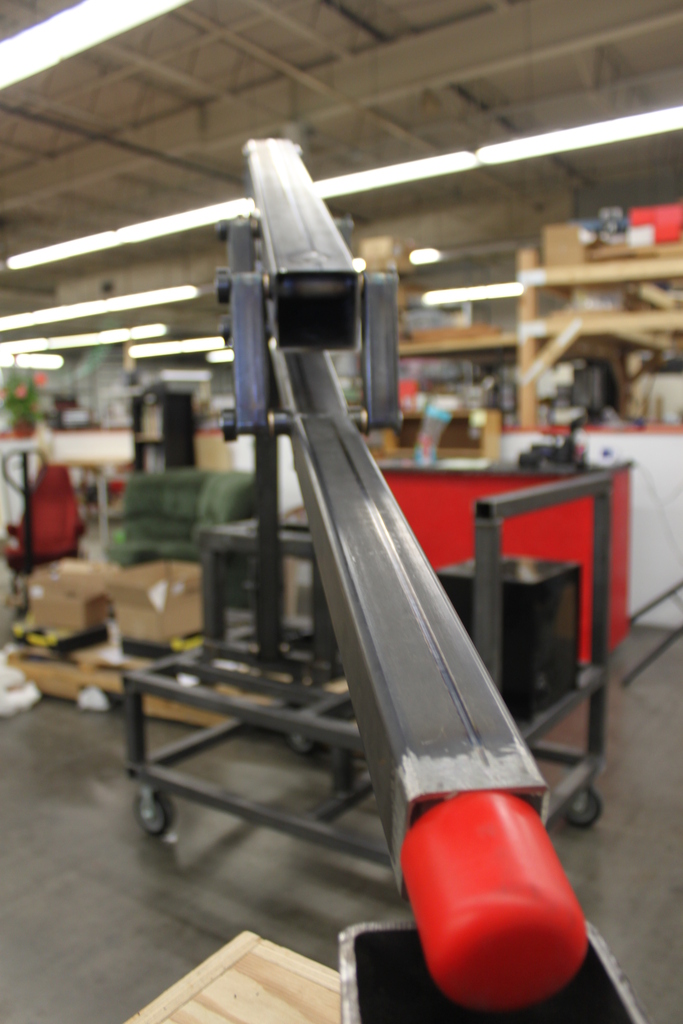
Check out our gallery of hydraulic assembly pictures below for more details on how we built this thing!

That’s all for now. We’ll get some more videos once the electrical and controls team wrestles the mechanical system into something that’s much more behaved!

-Gui

Preliminary Leg Cart Assembly A Success!

Hello again!

Yesterday, I presented on the basics of hydraulic system assembly. While technically only the mechanical team would have to worry about such things, we present basic lessons to the group so everyone is on the same page. After that, the group split up, with the mechanical team going out to assemble the parts we had and the controls and electrical group discussing next steps to controlling the Leg Cart.

The mechanical team took all the parts that we had been slaving over for the past month and put them together in our first fit-up. Even though not all of the parts were done, or all of the features machined or welded in, this let us develop a list of to-dos to keep track of and fix before the final assembly this weekend. It also let us get a sense of how big the cart and leg really were… we’re both horrified and really excited to see the cart paddling itself around Artisan’s Asylum in the near future. Without further ado, I encourage you to check out the pictures of the fit-up below!


Just a reminder, the test leg is a roughly half-scale prototype we’re using to characterize the building blocks of our system. The leg isn’t anywhere close to the final design, it’s just a quick test system we could produce relatively quickly. The cart will hold a hydraulic power system in its base, consisting of a loaner 100-horsepower electric motor, our hydraulic pump, the fluid reservoir and all of other hydraulic system components. As if the system weren’t dangerous enough, we’re running the electric motor off of Adam Bercu’s electric motor cycle battery. Woohoo!

Also, in other news, we had our first team photo after the fit-up! Check it out here:


The Project Hexapod Team


Stay tuned for updates after this weekend, when we finish the mechanical assembly of the cart, start the hydraulic system assembly, and with any luck, hand the cart over to the electrical and control teams.

-Gui

Sunday Build Blitz was Great!

Today (Sunday May 6) was an epic build session at the Asylum… work started at 10am and finished around 9pm.  The shop was bustling with activity… machining, grinding, welding, soldering… the fabrication team really came together and was firing on all cylinders.

Almost all mechanical parts have been fabricated for the leg on cart.  Electrically we have working valve control and joint angle feedback.  Tomorrow (Monday) will be a flurry of assembly.

Just a reminder, the test leg is a roughly half-scale leg we’re using to characterize the building blocks of our system.


Controls Assignment 2 Solution

The controls team pulled it together at the last minute and submitted a solution to the problem of pushing the leg cart in a smooth, controlled fashion.  “Controlled” in this context means that it can’t lift itself off the ground and foot slippage has to be minimal.

The control code here is 100% student written, from the joint controllers to the kinematics to the trajectory generation.  Go team!

For reference, the dots are 1m apart.  The simulation makes it clear that we really need to watch out for reaction torques about the yaw axis (note that the whole cart twists itself… this is with a relatively realistic friction coefficient on the wheels).  We will probably want to look at this more closely before putting anything on hardware.

Stompy Is Coming

We came to a major decision this past week – the 2,500 pound, 135 horsepower, propane-fueled, hydraulically powered hexapod robot will be named… Stompy.

(It was a close thing, to be sure. We were split 10 to 8 between Stompy and Fluffy. Stompy seemed more unique and somehow more appropriate, though).

Today’s class was largely a workday. Dan gave a presentation on an introduction to controls systems and, specifically, the choices we’ve made thus far to ensure robust control of the hexapod. The controls group then chugged away at the Leg Cart simulation, while the mechanical group hit up the welding shop for a blitz of manufacturing. I think/hope we’re about a week away from assembling the full Cart, but we’ll see how it goes this weekend.

One big thing that got done – I finished the first round of concept art for the project. Given the parameters we’ve been working so far, the design techniques we’re aiming for, and the major components we’ve selected, I give you a first glimpse at Stompy:

Why? Because we can.

Note the two seats side by side. This is no solo ride.

You may be confused as to how large this robot is. The distance between the centers of the two middle legs, folks, is currently 17 feet. That’s about a lane of traffic… and a half. The bottom of the frame is over 6 feet off the ground. To give you an idea of how big that really is, check out this comparison to a shoddily rendered version of my car.

I promised myself my next car would have legs.

Stompy is coming, folks. Get ready.